Oak Milling Mastery: Tips and Techniques for the Modern Machinist
Oak, with its rich history and prominence in woodworking, stands as a testament to nature's incredible ability to produce materials that are both beautiful and functional. Revered for its strength, durability, and timeless appeal, this wood has been a cornerstone in the crafting world, offering artisans a medium that speaks of elegance and endurance.
As CNC machinists in the modern era, we are presented with the unique challenge and opportunity to merge traditional woodworking with advanced technology. This fusion allows us to harness the full potential of oak, transforming raw lumber into intricate designs and functional masterpieces. In this guide, we'll delve deep into the practical aspects of milling oak, ensuring that every craftsman can navigate this journey with precision and passion.
Understanding Oak's Unique Properties
Before diving into the milling process, it's essential to understand oak's characteristics. Oak is a dense hardwood, which means it offers resistance to wear and tear. Its grain patterns are distinct, often showcasing beautiful swirls and waves that can enhance your final product.
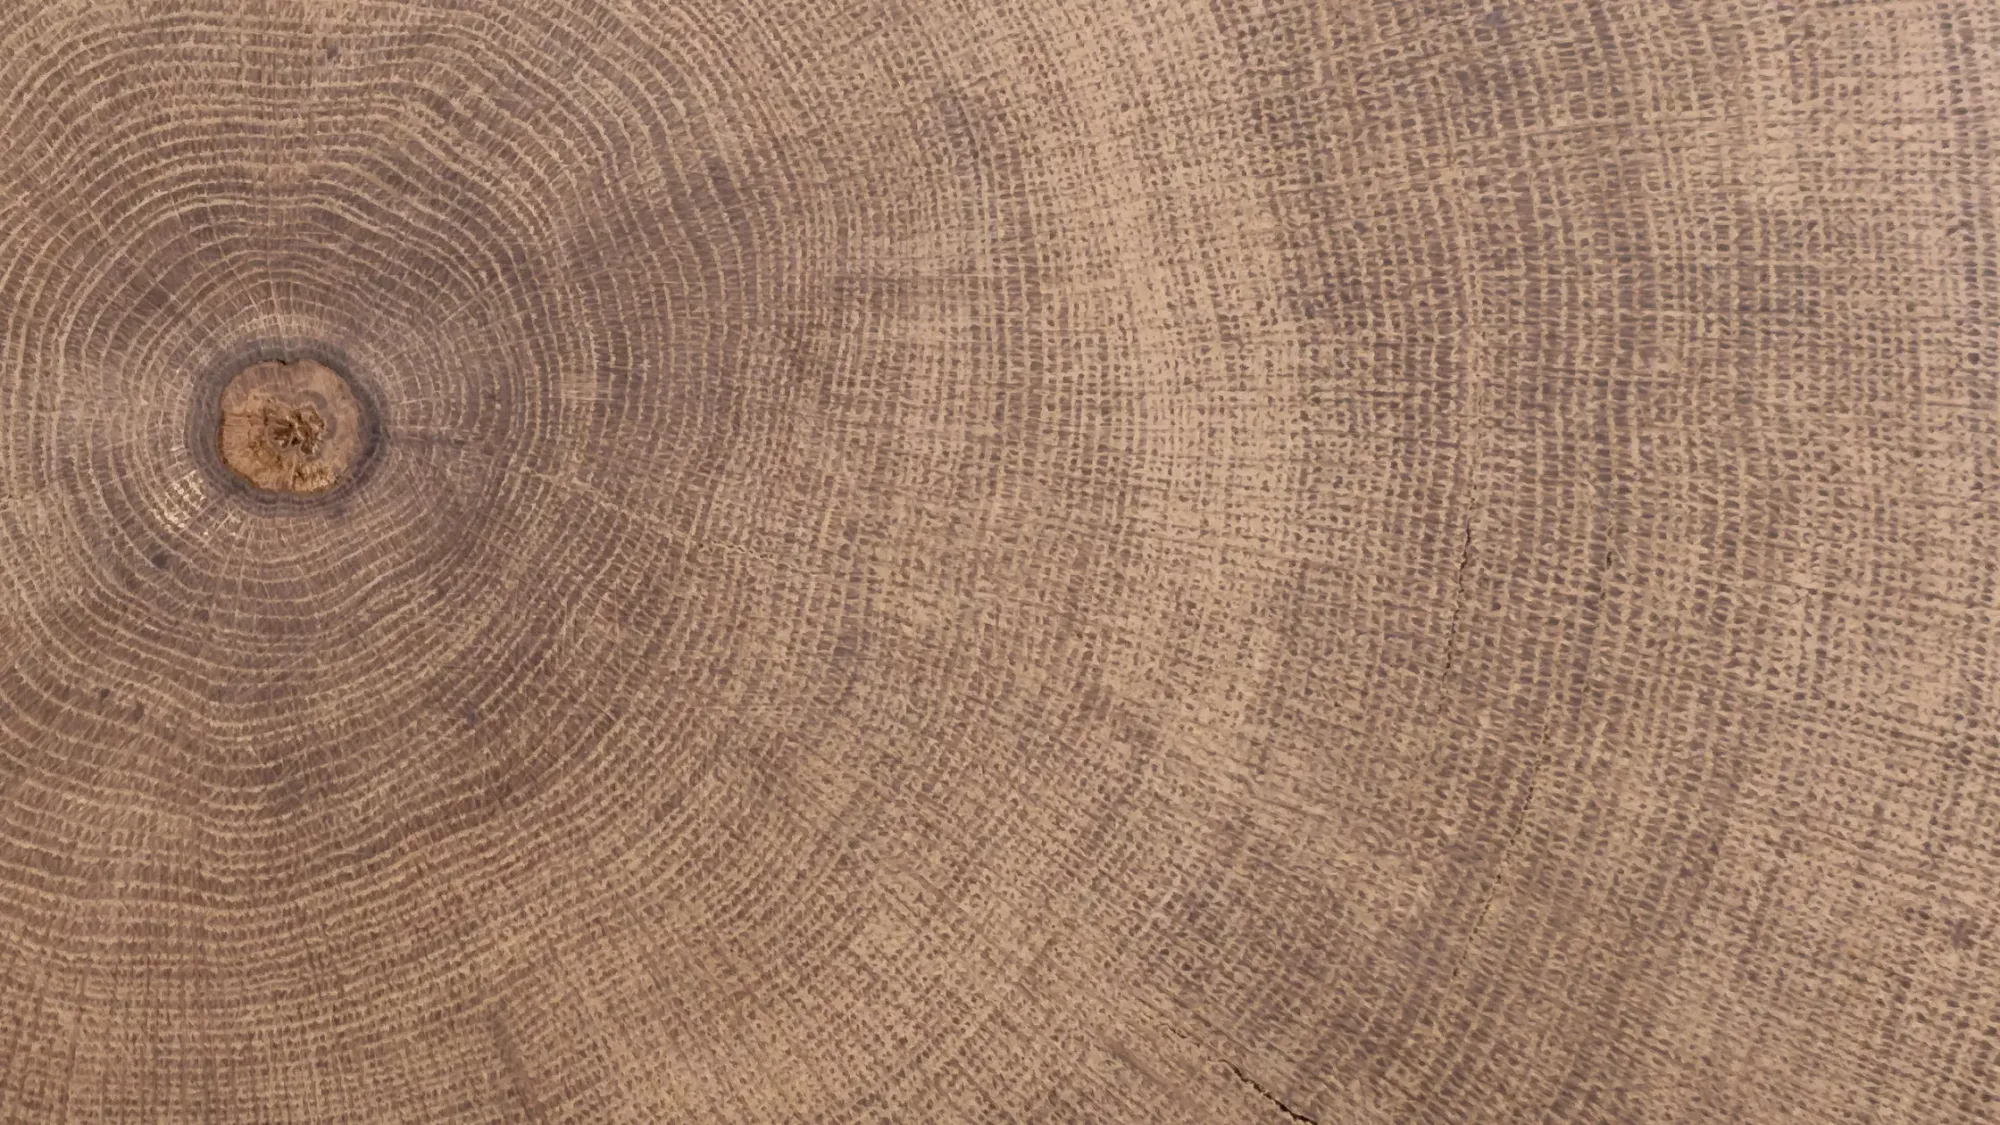
- Grain Patterns: One of the most distinguishing features of oak is its pronounced grain patterns. These patterns can range from straight lines to intricate swirls and waves, offering a visual treat that can be highlighted in the final product. The grain's direction also plays a crucial role in determining the wood's strength and how it reacts to external forces.
- Density and Hardness: Oak is a dense hardwood, which directly translates to its durability. This density means that oak can withstand significant wear and tear, making it ideal for furniture and flooring. However, its hardness also means that it requires sharp tools and a bit more effort during the milling process.
- Tannin Content: Oak has a high tannin content, which acts as a natural preservative. This makes oak resistant to fungal and insect attacks, ensuring longevity in the pieces crafted from it. However, these tannins can react with iron, leading to staining, so it's essential to use non-ferrous fasteners and tools when working with oak.
- Color Variations: Oak comes in various shades, from pale yellow to a deep reddish-brown, depending on its type (red oak vs. white oak) and age. This natural color palette allows craftsmen to choose the perfect hue for their project or even mix and match for a more dynamic look.
- Moisture Resistance: White oak, in particular, has cellular structures called tyloses that give it a heightened resistance to moisture compared to other woods. This property makes white oak an excellent choice for outdoor furniture and boat building.
- Workability: Despite its hardness, oak has a balanced workability. It holds joints well, can be glued effectively, and takes on stains and finishes beautifully, allowing for a polished end product.
Understanding oak's properties is paramount for any craftsman. It's not just about recognizing the wood's beauty but also about appreciating its character, strengths, and challenges. By doing so, one can truly harness the potential of oak in their creations.
Preparing the Oak
Always start with a clean, flat piece of oak. Ensure it's free from any knots or imperfections that might interfere with the milling process. If you're sourcing your oak from raw logs, consider investing in a good-quality sawmill to achieve the best results.
- Sourcing Quality Oak: Begin by selecting high-quality oak lumber or logs. Look for wood that is free from excessive knots, cracks, or other visible defects. The origin of the oak, whether it's sustainably harvested or reclaimed, can also play a role in its quality and character.
- Seasoning and Drying: Freshly cut oak contains a significant amount of moisture. Before milling, it's crucial to season and dry the wood to prevent warping, shrinking, or expanding after crafting. This can be done either through air drying, which can take several months to years, or kiln drying, which accelerates the process.
- Planing and Flattening: Once dried, the oak should be planed to ensure a flat and even surface. This step removes any warps or bows in the wood, providing a consistent base for precise milling.
- Cutting to Size: Depending on your project, you may need to cut the oak into smaller, more manageable pieces. Use a crosscut saw or a table saw for this purpose, ensuring clean and straight cuts.
- Grain Orientation: Pay attention to grain orientation, especially if you're working on a project that requires strength in a particular direction, like table legs or chair spindles. Aligning your cuts with the grain can enhance the structural integrity of the final product.
- Storage: If you're not milling the oak immediately after preparation, store it in a cool, dry place away from direct sunlight. Proper storage prevents the wood from absorbing moisture from the environment, which can lead to warping or fungal growth.
- Final Inspection: Before milling, give the oak a final inspection. Look for any imperfections, like embedded nails or other foreign objects, that might have been missed in the initial preparation. These can damage your milling tools and affect the quality of your work.
Preparing oak is a meticulous process that demands attention to detail. It's not just about getting the wood ready for milling but setting the stage for excellence. By investing time and care in these initial steps, you ensure that the oak is in its best possible state, ready to be transformed into a work of art.
Choosing the Right Tools
Oak's density requires sharp, high-quality milling tools. Carbide-tipped tools are a favorite among machinists for their durability and precision. Ensure your tools are sharp and well-maintained to prevent any tear-out or chipping.
The art of milling oak is as much about the skills of the craftsman as it is about the tools they employ. Oak, with its robust nature, demands tools that can match its strength while ensuring precision. Here's a comprehensive look at selecting the right tools for milling oak:
- Material of the Tool: When working with a hardwood like oak, carbide-tipped tools are often the preferred choice. Their durability and ability to retain sharpness over extended periods make them ideal for tackling oak's dense grain.
- Router Bits: For intricate designs and edges, router bits are essential. Spiral bits are particularly effective for oak, as they ensure smooth cuts and reduce the risk of burning. Up-cut spiral bits are great for grooves and dadoes, while down-cut spiral bits provide a cleaner surface finish.
- Saw Blades: A high-quality saw blade is crucial for clean and straight cuts. Look for blades with a higher tooth count, as they produce smoother cuts in hardwoods like oak. Additionally, thin-kerf blades reduce waste and require less power, making them efficient for cutting oak.
- Drill Bits: Brad point drill bits are recommended for oak due to their precision in starting holes. Their pointed tip ensures that the hole is drilled exactly where intended, minimizing any chances of wandering.
- Milling Cutters: For larger removals of material or shaping the oak, milling cutters like end mills are essential. Ensure they are sharp and of high quality to prevent tear-out.
- Chisels and Planes: For finer work or adjustments, sharp chisels and planes are invaluable. They allow for detailed shaping and smoothing, especially in areas that machines might not reach.
- Sanding Tools: Oak's dense grain can sometimes lead to rough patches after milling. Orbital sanders, belt sanders, and hand-sanding blocks are essential for achieving a smooth finish. Start with a coarser grit and progress to finer grits for the best results.
- Dust Collection: Oak milling can produce a significant amount of sawdust. A good dust collection system not only keeps your workspace clean but also protects your health by reducing airborne particles.
- Tool Maintenance: Regularly inspect and maintain your tools. A sharp tool not only ensures precision but also reduces the effort required to mill the oak. Regular sharpening, cleaning, and proper storage can extend the life of your tools and enhance the quality of your work.
The right tools are your trusted allies in the journey of crafting with oak. They bridge the gap between your vision and the final product, ensuring that every cut, groove, and detail reflects your craftsmanship's excellence. Investing in quality tools and maintaining them will not only make the milling process more enjoyable but also elevate the quality of your creations.
Setting the Correct Feed Rate
The feed rate, or the speed at which the tool moves through the material, plays a pivotal role in the milling process. It's a delicate balance: too fast, and you risk burning the wood or damaging the tool; too slow, and you may not achieve a clean cut or efficient workflow. When milling oak, a hardwood known for its density and robustness, understanding and setting the correct feed rate is paramount.
- Oak's Density: Oak's inherent hardness means it offers more resistance to the cutting tool compared to softer woods. This resistance necessitates a slower feed rate to ensure the tool can effectively cut through the material without undue strain.
- Tool Considerations: The sharpness and type of tool you're using also influence the optimal feed rate. Dull tools require a slower feed rate to achieve a clean cut, while sharper tools can handle slightly faster speeds. Additionally, larger-diameter tools can often run at a faster feed rate than smaller ones.
- Depth of Cut: The depth at which you're cutting into the oak affects the appropriate feed rate. Deeper cuts generally require a slower feed rate to ensure accuracy and prevent tool strain.
- Avoiding Burn Marks: One of the telltale signs of an overly fast feed rate, especially with oak, is the presence of burn marks on the milled surface. These not only mark the appearance but can also indicate potential tool wear or damage.
- Listening to the Machine: Often, the sound of the milling process can provide clues about the feed rate. A high-pitched whine or excessive vibration may indicate that the feed rate is too fast, while a slow, labored sound might suggest it's too slow.
- Trial and Error: While there are general guidelines and calculations to determine feed rate, every piece of oak can vary slightly in density and moisture content. It's beneficial to start with a test piece to fine-tune the feed rate for your specific material and machine.
- Safety Implications: An incorrect feed rate can lead to tool breakage or workpiece kickback, both of which pose safety risks. Ensuring you're operating at the correct feed rate is not just about quality and efficiency but also about safety.
Setting the correct feed rate when milling oak is a blend of science, experience, and intuition. It's about understanding the unique interplay between the material, the tool, and the machine. By giving due attention to the feed rate, craftsmen can ensure that their milling process is not only efficient and precise but also safe and enjoyable.
Cooling and Lubrication
While oak doesn't require as much cooling as metals, it's still essential to ensure your tools don't overheat. A simple air blast can help clear away wood chips and keep your tool cool.
While cooling and lubrication might seem secondary in the woodworking process, they play a pivotal role in ensuring the quality of the final product and the longevity of the tools. By understanding their importance and implementing them effectively, craftsmen can elevate the precision and efficiency of their oak milling endeavors.
Finishing Touches:
Once milled, oak can be sanded to a smooth finish. Start with a coarse grit and work your way up to a finer grit for a silky-smooth touch. For added protection and aesthetics, consider finishes like oil or varnish to enhance the wood's natural beauty.
The finishing touches are where the true essence of craftsmanship shines through. It's a testament to the attention to detail, care, and passion invested in the piece. By meticulously following each finishing step, craftsmen ensure that their milled oak not only stands out in beauty but also stands the test of time.
Wrapping Up
Milling oak is a rewarding experience, blending the age-old charm of woodworking with modern CNC machining techniques. With the right approach, tools, and passion, you can transform this majestic wood into pieces that resonate with beauty and functionality. Embrace the challenge, and happy crafting!
Remember, every piece of oak has its own story, and as machinists and makers, we have the privilege of giving it a new chapter. Whether you're crafting furniture, art pieces, or functional items, let the wood's natural beauty shine through your craftsmanship.