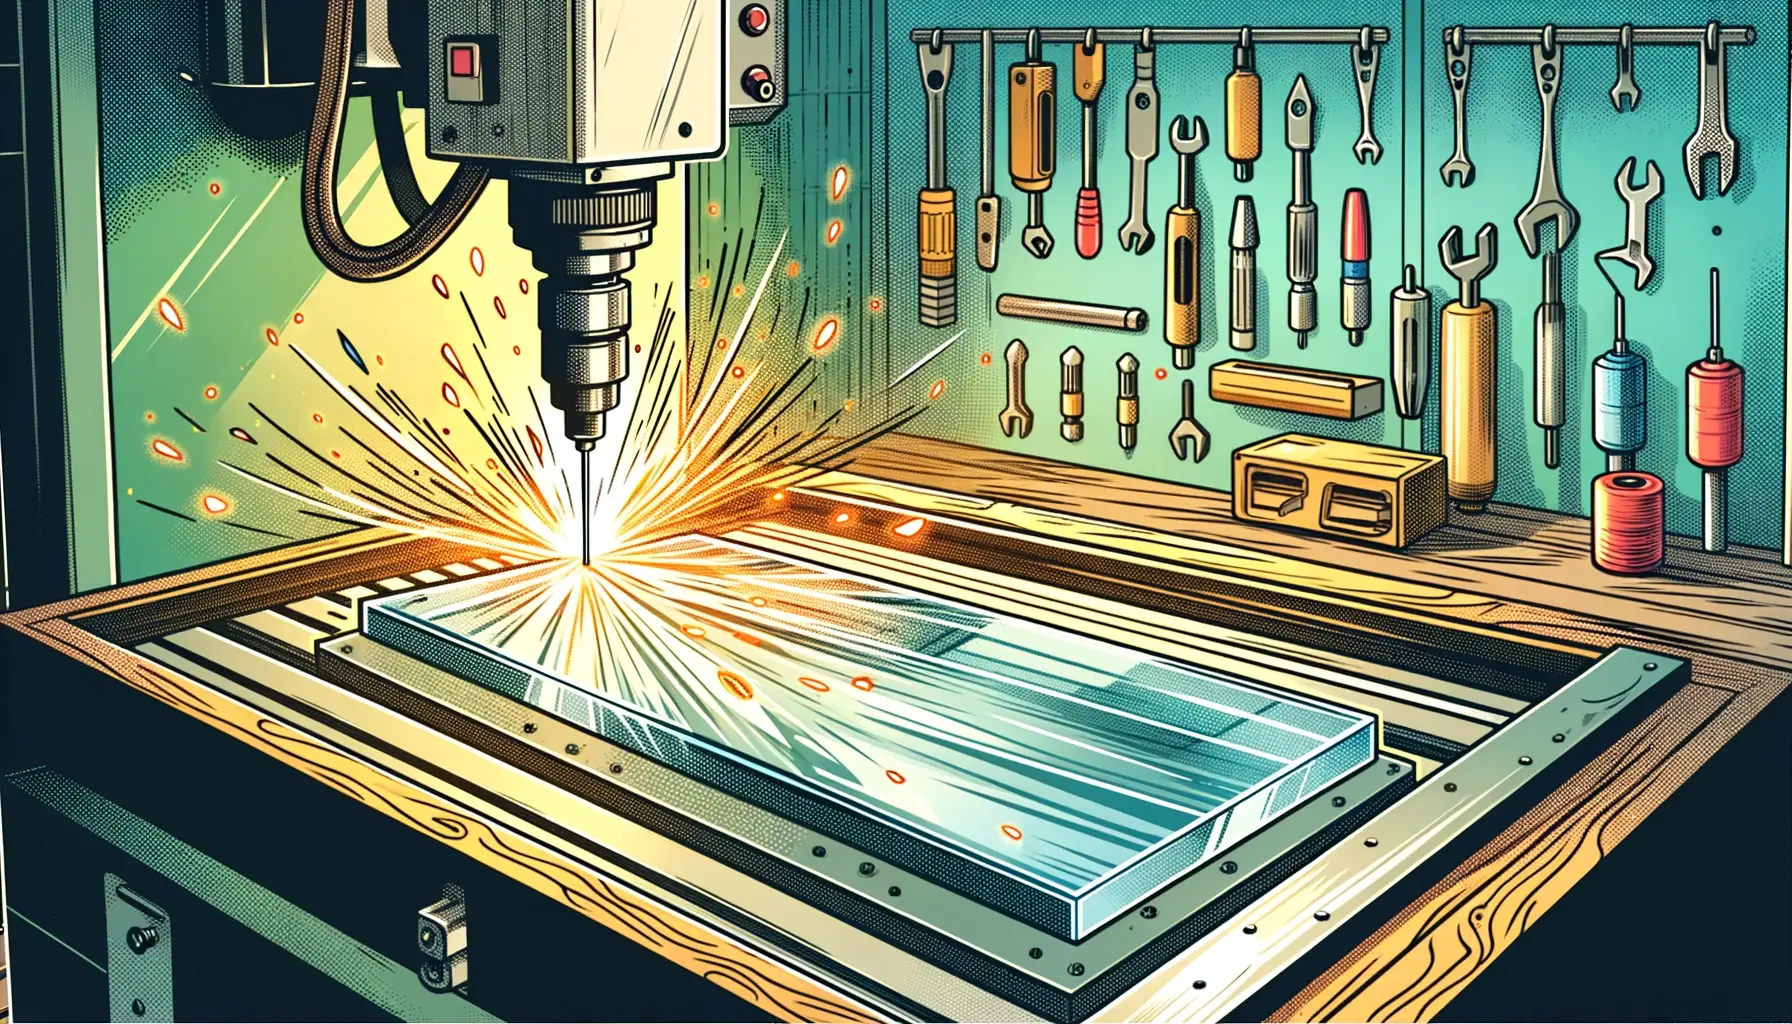
Clear Cut: CNC Router Tips for Perfect Plexiglass

Ever marvel at the clear, sleek edges of plexiglass in tech projects and wonder how they're so darn perfect? Today, we're slicing into the world of milling plexiglass with the precision of a CNC router, and we're here to spill the beans on how you can get those crystal-clear finishes in your own diabolical devices.
A huge shout-out to the folks at Wattsan for their insightful video on milling plexiglass. They offer an in-depth look at the nuances of milling plexiglass, providing essential tips and techniques that serve as the foundation for anyone looking to master this craft with a CNC router.
The Plexiglass Predicament
Plexiglass, the chameleon of the CNC world, is as versatile as it is demanding, a favorite for everything from bespoke signage to protective barriers. Its allure lies in its blend of affordability and adaptability, a material that caters to both the novice tinkerer and the seasoned machinist. Yet, as the insightful Wattsan video highlights, milling this thermoplastic is no cakewalk—it's a precision dance where the depth of cut and the delicacy of the tool's touch is paramount. Too aggressive, and you risk the dreaded crack; too timid, and you lose that lustrous edge.
It's about finessing feed rates, optimizing spindle speeds, and mastering cooling systems to keep the heat at bay. In the hands of a skilled maker, guided by the sage advice from Wattsan's CNC gurus, plexiglass transcends its material bounds, becoming a medium that turns functional projects into polished gems of craftsmanship.
Tool Time: Cutter Choices
In the high-stakes game of plexiglass CNC machining, the right tools aren't just a good idea—they're your lifeline. Spiral or double helical cutters are the secret handshake of the plexiglass elite, slicing through this persnickety material with the precision of a master chef's knife through butter. But it's not just about having the right cutters; it's about knowing how to wield them. A shallow dive of 1-2 millimeters for finishing and a modest 4 millimeters for roughing out are the moves of a maestro, ensuring the material's moodiness is tamed without a crack or melt in sight. It's a delicate balance, a symphony of speed, depth, and finesse, where the right tools and the right touch make all the difference between a masterpiece and a mess.
Pro tip: don't cross-contaminate your cutters. If it's danced with wood, carbon, or metals, keep it away from your plexiglass. It's like using a chef's knife to dig in the garden and then chop vegetables—not a good mix.
A flawless edge is the holy grail of milling. If your edge is more jagged than a mountain skyline or looks like chewed-up caramel, something's amiss. No chips, no melting, just smooth sailing. If your cutter is leaving behind a crime scene, it's time for a sharper ally.
Essential parameters
When you're carving paths through plexiglass with your CNC machine, think of yourself as a conductor orchestrating a symphony of parameters. The feed rate sets the tempo, ideally between 2000 to 2500 millimeters per minute, avoiding the cacophony of a cracked masterpiece or a gooey meltdown. Depth of cut is your dynamics, soft for finishing at a whisper-thin 1-2 millimeters, and a controlled forte up to 4 millimeters for roughing. Spindle speed is the pitch, with 16,000 to 18,000 RPM hitting those high notes for a cut as clean as a concert hall's chime. And let's not forget the cooling system, the unsung hero that prevents your piece from turning into a sticky encore. These are the critical levers and dials you'll tweak to turn that plexiglass slab into a transparent treasure.
Here's a table summarizing the essential parameters for CNC machining of plexiglass:
| Parameter | Value Range | Notes |
|---|---|---|
| Feed Rate | 2000 - 2500 mm/min | Keeps the material from cracking or melting |
| Depth of Cut | 1-2 mm (finishing), up to 4 mm (roughing) | Ensures material integrity and quality finish |
| Spindle Speed | 16,000 - 18,000 RPM | Optimal speed for clean cuts |
| Cooling System | Required | Prevents melting and improves cut quality |
Parallel Flow Milling: Go with the Flow
When milling plexiglass, you want your cutter's rotation to buddy up with the spindle movement—this is parallel flow milling. It's all about aligning the cutter's rotation with the spindle's tango, ensuring that every pass glides with the grain of the material, not against it. This isn't just cutting; it's a choreography that leaves you with a finish so smooth, it's like ice on a Zamboni rinkm´, where the end surface is so immaculate, it looks like it was polished by the breath of a winter sprite.
Wrapping Up
So there you have it, fellow makers. Armed with these insights, you can mill plexiglass like a pro. Do your tips or epic fails to share? Drop them in the comments. Let's mill this conversation into shape!
Happy milling!
